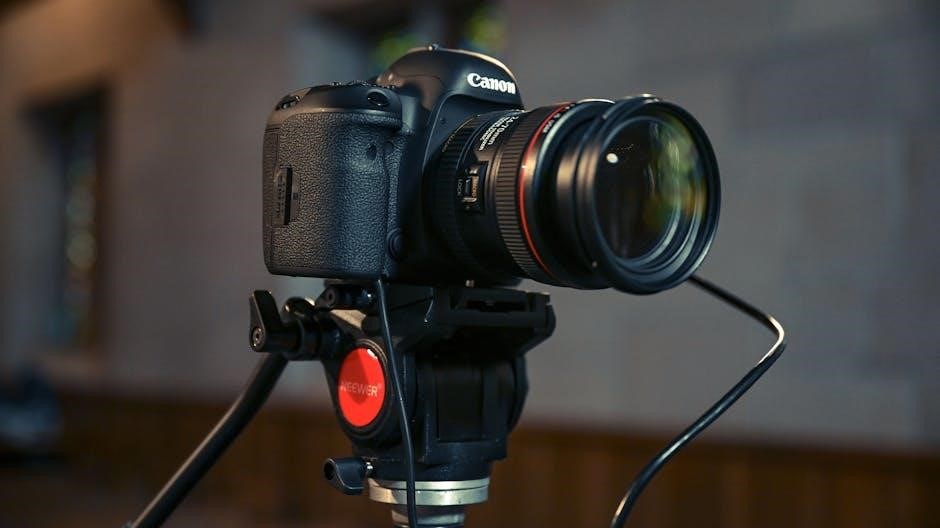
The Canon AE-1 Program is a 35mm SLR film camera released in 1981‚ offering three operation modes: Program‚ Shutter-Speed Priority‚ and Manual‚ ideal for amateur photographers.
1.1 Overview of the Camera and Its Features
The Canon AE-1 Program is a 35mm single-lens reflex (SLR) film camera offering advanced features for its time. It includes electronic shutter control‚ aperture-priority AE mode‚ and manual operation. The camera supports interchangeable FD lenses‚ providing versatility for various photography needs. Additional features include a built-in flash system compatibility with the Speedlite 168A‚ ensuring enhanced functionality for both amateur and enthusiast photographers.
1.2 Historical Significance and Popularity
The Canon AE-1 Program‚ introduced in 1981‚ became a landmark camera in the AE-1 series‚ which debuted in 1976. Known for its blend of automatic features and manual controls‚ it gained immense popularity among amateur photographers. Its durability and versatility made it a favorite‚ contributing to Canon’s reputation in the SLR market. The AE-1 Program remains a celebrated choice‚ even in the digital era‚ highlighting its enduring influence in photography history.
Specifications and Operation Modes
The Canon AE-1 Program is an electronically controlled 35mm SLR offering three modes: Program‚ Shutter-Speed Priority‚ and Manual. It features automatic shutter and aperture control‚ with manual override capabilities. Setting the Program mode involves turning the diaphragm ring to auto and the speed knob to program.
2.1 Types of Operation: Program‚ Shutter-Speed Priority‚ and Manual
The Canon AE-1 Program offers three versatile operation modes. In Program Mode‚ both shutter speed and aperture are automatically set for optimal exposure. Shutter-Speed Priority Mode allows manual control of shutter speed‚ with the camera adjusting the aperture. Manual Mode provides full control over both settings‚ enabling precise adjustments. Each mode caters to different photography styles and lighting conditions‚ making the camera adaptable for various creative needs.
2.2 Setting the Program Mode
To activate Program Mode on the Canon AE-1 Program‚ set the aperture ring to “Auto” and the shutter speed dial to the “Program” position. This allows the camera to automatically control both shutter speed and aperture for optimal exposure. The mode is ideal for beginners or quick shooting situations‚ ensuring balanced settings without manual adjustments. It simplifies photography while maintaining high-quality results‚ making it a versatile option for various lighting conditions.

AE Photography
The Canon AE-1 Program offers three automatic exposure modes: Programmed AE‚ Shutter-Speed Priority AE‚ and Manual Override‚ providing flexibility for diverse shooting scenarios and skill levels.
3.1 Full Auto Mode and Shutter-Speed Priority AE
In Full Auto Mode‚ the Canon AE-1 Program automatically controls both aperture and shutter speed for effortless photography. Shutter-Speed Priority AE allows users to set the desired shutter speed‚ with the camera adjusting the aperture to ensure proper exposure. These modes cater to different photography needs‚ offering convenience and creative control‚ making the camera versatile for various shooting conditions and skill levels.
3.2 Manual Override and Custom Settings
The Canon AE-1 Program allows manual override for precise control over aperture and shutter speed‚ enabling photographers to adjust settings according to their creative vision. Custom settings‚ such as using FD lenses and changing focusing screens‚ provide further flexibility. This feature caters to photographers who prefer hands-on control‚ making the camera adaptable for diverse shooting styles and professional needs.
Using the Camera
Mastering the Canon AE-1 Program involves understanding its intuitive controls and features‚ from loading film to adjusting settings‚ ensuring a seamless photography experience for users of all levels.
4.1 Loading Film and Basic Controls
Load film by opening the camera back‚ aligning the film leader with the spool‚ and advancing to the first frame. Set the ASA film speed using the dial. Basic controls include the shutter speed knob‚ aperture ring‚ and film advance lever. Ensure the battery is installed for the light meter to function. Proper handling ensures smooth operation and optimal image quality. Always refer to the manual for detailed steps to avoid errors during loading.
4.2 Advanced Shooting Techniques
Experiment with Program‚ Shutter-Speed Priority‚ and Manual modes for creative control. Use depth of field preview to check focus and composition. For precise focus‚ utilize the AE-1’s interchangeable focusing screens. Leverage the Speedlite 168A for professional flash results. Advanced techniques like multiple exposures and bulb mode expand artistic possibilities. Practice these methods to enhance your photography skills and achieve exceptional image quality with the AE-1 Program.

Dedicated Flash Photography
The Speedlite 168A offers precise flash exposure control‚ ensuring balanced lighting in various conditions. It pairs seamlessly with the AE-1 Program‚ enhancing your creative possibilities.
5.1 Using the Speedlite 168A
The Speedlite 168A is a dedicated flash unit designed for the Canon AE-1 Program‚ offering TTL (Through-The-Lens) flash metering for precise exposure control. It features a bounce head for versatile lighting and is powered by four AA batteries. The flash automatically adjusts to the camera’s aperture setting‚ ensuring balanced illumination. Compatible with the AE-1 Program‚ it enhances creativity in low-light conditions‚ making it ideal for both amateur and professional photographers.
5.2 Sync Speed and Flash Exposure Compensation
The Canon AE-1 Program has a maximum sync speed of 1/60th of a second when using the Speedlite 168A or other dedicated flash units. To achieve proper flash exposure‚ set the lens aperture to the “A” position‚ allowing the camera to automatically control it. Flash exposure compensation can be adjusted by changing the aperture or using external flash controls‚ ensuring balanced lighting in various shooting conditions.

Maintenance and Care
Regularly clean the camera to prevent dust buildup. Use a soft cloth for the exterior and avoid harsh chemicals. Store in a cool‚ dry place away from direct sunlight to maintain functionality. Perform a pre-shooting checklist to ensure all components are in good working order for optimal performance.
6.1 Cleaning and Storage Tips
Use a soft‚ dry cloth to clean the camera’s exterior. Avoid harsh chemicals. Store in a cool‚ dry place away from direct sunlight. Use silica gel packets to prevent moisture damage. Regularly inspect and clean the lens with a microfiber cloth. Store the camera in its case to protect from dust. Avoid extreme temperatures and humidity to maintain optimal performance and longevity of the AE-1 Program.
6.2 Pre-Shooting Checklist
Before shooting‚ ensure the battery is fully charged and functional. Check that film is loaded correctly and the ISO is set appropriately for the roll. Inspect the lens for cleanliness and damage. Verify that the shutter speed and aperture settings are suitable for your scene. Ensure the camera is in the correct mode (Program‚ Shutter-Speed Priority‚ or Manual).
Test the flash if needed‚ and check for proper synchronization. Clean the viewfinder and focusing screen. Carry a spare battery and extra film. Use a lens hood to reduce glare. Perform a quick function check to ensure all buttons and dials operate smoothly. This ensures optimal performance and prevents missed shots.

Troubleshooting Common Issues
Troubleshoot exposure errors by checking film speed settings and ensuring proper battery function. Address mechanical issues like stuck controls or shutter malfunctions promptly. Resolve flash synchronization problems by verifying settings and connections to ensure optimal performance and image quality.
7.1 Resolving Exposure Problems
Exposure issues can often be resolved by checking the aperture and shutter speed settings. Ensure the battery is functional‚ as it powers the camera’s metering system. Use the built-in light meter to verify proper exposure readings. Clean the lens and ensure no obstructions block light. If using manual mode‚ double-check calculations. Adjust settings accordingly to achieve the desired exposure. Regularly verify film speed settings for accuracy. Correcting these factors will help restore optimal image quality.
7.2 Solving Mechanical and Electrical Faults
For mechanical issues‚ inspect the shutter and aperture mechanisms for obstructions or wear. Lubricate moving parts if necessary. Electrical faults often stem from battery drain or faulty contacts. Ensure the battery compartment is clean and free of corrosion. Check internal wiring for breaks. Clean electrical contacts gently with a cotton swab. If issues persist‚ consider consulting a professional technician. Regular maintenance can prevent many mechanical and electrical problems. Always handle the camera with care to avoid damage.

Accessories and Compatibility
Explore FD lenses and external flash units like the Speedlite 168A for enhanced functionality. Use compatible accessories to ensure optimal performance with your AE-1 Program.
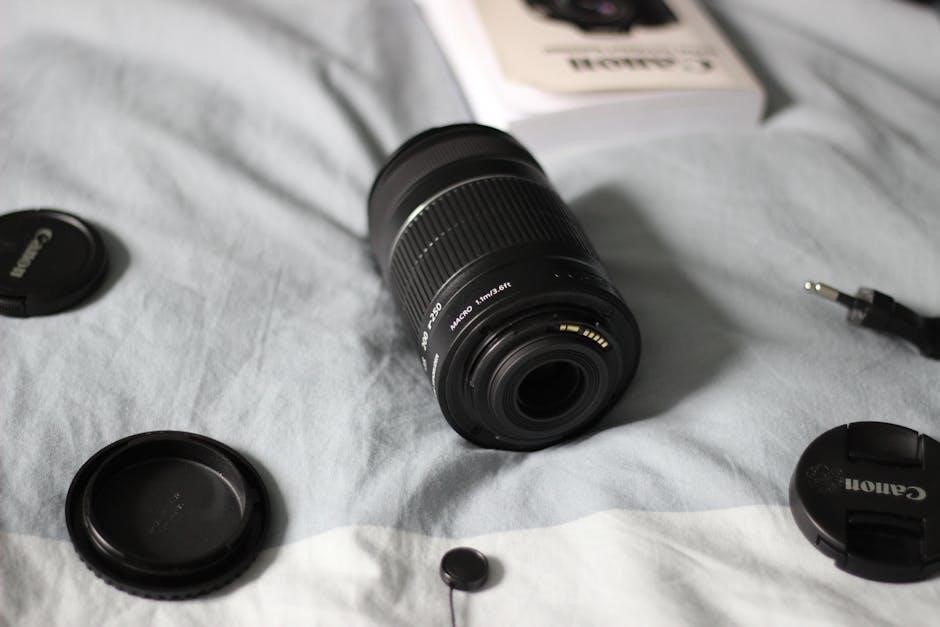
8.1 FD Lenses and Their Usage
FD lenses are specifically designed for the Canon AE-1 Program‚ offering precise aperture control and compatibility with the camera’s advanced features. They provide sharp‚ high-quality images and are versatile for various photography styles. Ensure the lens is set to the “A” position for proper operation with the Program mode.
8.2 Optional Accessories for Enhanced Functionality
Optional accessories like the Speedlite 168A flash unit offer dedicated flash photography capabilities‚ while the Power Winder A2 enables automatic film advancing for faster shooting. Additionally‚ the Data Back provides date‚ time‚ and exposure data imprinting‚ enhancing organization and record-keeping for photographers. These accessories expand the camera’s versatility and cater to advanced shooting needs.

Film Handling and Rewinding
Load film in low light‚ align the leader with the take-up spool‚ and close the back. Advance film to the first frame using the lever. Rewind carefully to avoid exposure.
9.1 Loading and Advancing Film
Load film in low-light conditions to prevent exposure. Align the film leader with the take-up spool‚ ensuring it fits securely. Close the camera back gently and advance the film by turning the lever until it stops‚ seating the film properly. Always check the frame counter to confirm the film is loaded correctly. Proper loading ensures accurate frame advancement and prevents light leaks.
- Align the film leader with the red mark on the spool.
- Advance the film until it stops to ensure proper seating.
- Verify the frame counter starts at “1” after loading.
9.2 Rewinding the Film Safely
To rewind film safely‚ press the rewind button located on the bottom of the camera. Turn the rewind knob clockwise until the film counter returns to “0‚” indicating the film is fully rewound. Always rewind in low-light conditions to prevent exposure. Once done‚ remove the film canister carefully and store it in a light-tight container to protect your photos from light damage.
- Press the rewind button to release the film.
- Turn the rewind knob clockwise until it stops.
- Ensure the film counter resets to “0” before removing the film.

Advanced Features and Customization
The Canon AE-1 Program offers interchangeable focusing screens and a self-timer‚ allowing photographers to customize shooting experiences for enhanced control and personalization.
10.1 Customizing the Focusing Screen
The Canon AE-1 Program allows photographers to customize the focusing screen based on their shooting needs. Interchangeable screens‚ such as plain‚ microprism‚ or split-image options‚ provide enhanced focus accuracy for various subjects and lenses. This feature is particularly useful for precise manual focusing. Refer to page 70 of the manual for detailed instructions on changing and optimizing the focusing screen for your photography style.
10.2 Using the Self-Timer
The Canon AE-1 Program features a self-timer that delays the shutter release by 10 seconds‚ reducing camera shake in self-portraits or group photos. To activate‚ slide the self-timer lever to the “ON” position and press the shutter button. The camera will automatically release after the delay. For best results‚ use a tripod to ensure stability during the timer interval. This feature is ideal for sharp‚ hands-free photography.
The Canon AE-1 Program is a reliable and versatile camera‚ offering ease of use for beginners while providing creative control for experienced photographers. Its combination of automatic and manual features‚ compatibility with FD lenses‚ and intuitive design makes it an excellent choice for capturing timeless moments. Perfect for learning and experimentation‚ it remains a cherished tool for photographers of all levels.
11.1 Making the Most of Your AE-1 Program
Maximize your Canon AE-1 Program experience by exploring its three operation modes: Program for ease‚ Shutter-Speed Priority for control‚ and Manual for creativity. Utilize FD lenses and the Speedlite 168A for enhanced functionality. Regular maintenance ensures optimal performance. Experiment with different techniques and settings to unlock its full potential. A durable and reliable companion‚ it offers endless opportunities for photographers to grow and express their vision.