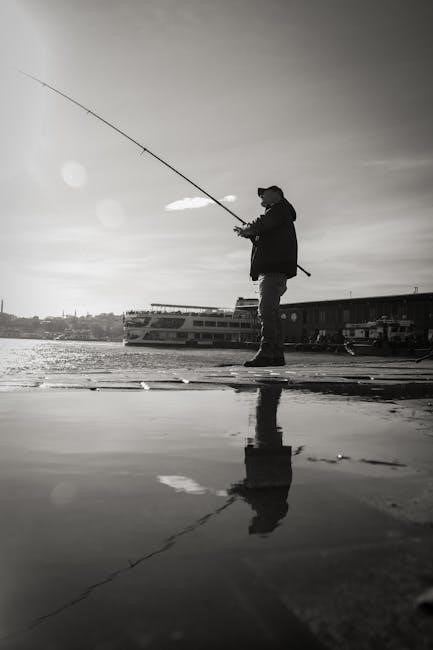
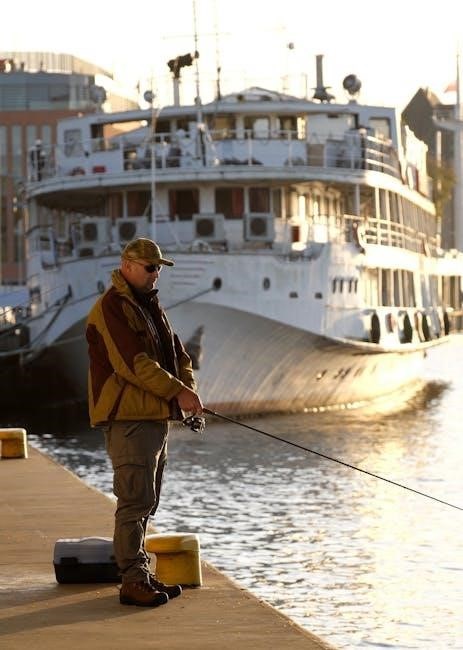
Fishing rod guides are essential components that enhance casting performance and line control. Made from materials like ceramic or stainless steel, they reduce friction and prevent line tangles. Replacing damaged guides ensures optimal fishing rod functionality and longevity, making them a crucial part of maintenance for anglers.

What Are Fishing Rod Guides?
Fishing rod guides are circular or looped components attached along the length of a fishing rod. They serve to direct the fishing line from the reel to the rod’s tip, ensuring smooth line movement and reducing friction. Typically made from durable materials like ceramic or stainless steel, these guides are securely fastened with epoxy or thread wrapping to withstand stress during fishing. Their design and placement are crucial for optimal casting performance and line control, making them essential for maintaining the rod’s functionality and efficiency.
Importance of Guides on a Fishing Rod
Importance of Guides on a Fishing Rod
Fishing rod guides play a vital role in enhancing casting accuracy, reducing line tangles, and minimizing friction during retrieves. They ensure the fishing line moves smoothly along the rod, improving control and sensitivity. Damaged or worn-out guides can lead to poor line performance and increased risk of breakage. Properly functioning guides are essential for maintaining optimal fishing efficiency and ensuring a enjoyable angling experience.

Tools and Materials Needed for Replacement
Essential tools include a razor blade, cutting tool, and epoxy. Materials like ceramic rings and replacement guides ensure a durable and smooth repair process.
Essential Tools for Guide Replacement
A razor blade or cutting tool is needed to remove the old guide and epoxy. A small paintbrush helps apply epoxy evenly. Pliers or a guide remover can assist in removing stuck guides. Sandpaper smoothes the rod surface, and a clamp or rotating rod holder keeps the rod steady during repair. These tools ensure a clean, precise replacement process for fishing rod guides.
Recommended Materials for a Successful Repair
High-quality replacement guides, ceramic or stainless steel rings, and epoxy resin are essential for durability. Thread wraps and UV-cure adhesives ensure a strong bond. Selecting the right size and type of guide ensures proper alignment. Using materials like Fuji or CRB guides guarantees reliability. Always match the original specifications for optimal performance. These materials ensure a professional and long-lasting repair for your fishing rod guides.
Step-by-Step Guide to Replacing Fishing Rod Guides
Replace your fishing rod guides by removing the broken one, cleaning the rod, positioning the new guide, and securing it with epoxy for a durable fix. Proper alignment ensures optimal performance and longevity.
Step 1: Remove the Broken Guide
Start by carefully cutting the epoxy and thread holding the broken guide using a razor blade or similar tool. Gently scrape away the old adhesive and debris until the guide loosens. Avoid damaging the rod blank during this process. Once free, twist the guide slightly to remove it completely. Ensure the area is clean and smooth before proceeding to the next step for optimal results.
Step 2: Prepare the Rod for the New Guide
After removing the broken guide, clean the rod blank thoroughly using a razor blade to scrape off any remaining epoxy or thread wraps. Lightly sand the area to ensure a smooth surface for the new guide. Wipe it with alcohol to remove dust and oils, ensuring proper adhesion. This preparation step is crucial for a secure and durable bond when attaching the replacement guide.
Step 3: Position and Secure the New Guide
Align the new guide with the rod’s spine or existing guides for proper placement. Gently press the guide onto the cleaned area, ensuring it’s straight and evenly spaced. Apply a small amount of epoxy to the base, spreading it evenly with a brush. Use a heat source, like a hairdryer, to set the epoxy quickly. Double-check the alignment before allowing it to cure, ensuring optimal performance and durability.
Step 4: Apply Epoxy and Finish the Repair
Mix the epoxy according to the manufacturer’s instructions and apply a thin, even layer to the base of the new guide and the rod. Use a small brush or swab to spread it evenly, ensuring full coverage. Allow the epoxy to cure completely, typically 24 hours, depending on the product. Once cured, inspect for excess epoxy and smooth any rough edges with a fine file or sandpaper for a professional finish.
Tips for a Successful Guide Replacement
- Ensure proper alignment and fit for optimal performance.
- Allow sufficient curing time for epoxy to bond securely.
- Smooth edges for a professional, snag-free finish.
- Use high-quality materials to maintain rod durability.
Ensuring Proper Alignment and Fit
Proper alignment and fit are crucial for optimal performance. Remove the old guide carefully using a razor blade or cutting tool to avoid damaging the rod blank. Select a replacement guide that matches the original size and type, ensuring it aligns with adjacent guides. Apply a small amount of epoxy, position the guide precisely, and let it cure. This ensures smooth line flow and prevents friction or tangles during use.
Allowing Sufficient Curing Time for Epoxy
Allowing epoxy to cure properly is critical for a durable bond. After applying epoxy to secure the new guide, let it cure for at least 24 hours in a clean, dry environment. Rushing this step can result in a weak bond, leading to guide failure. Ensure the epoxy hardens completely before handling or using the rod, as this ensures long-lasting repair and optimal performance.
Smoothing Edges for a Professional Finish
Smoothing the edges around the newly installed guide ensures a professional finish. After the epoxy cures, use fine-grit sandpaper to remove excess material and blend the edges seamlessly with the rod. This prevents sharp edges from catching the fishing line. Lightly polishing the area with a soft cloth finalizes the repair, ensuring a smooth, durable finish that enhances both functionality and aesthetics of the fishing rod.
Signs Your Fishing Rod Guide Needs Replacement
Visible cracks, worn-out ceramic rings, or loose guides indicate replacement is necessary. Performance issues, like line tangles or uneven casts, also signal the need for new guides.
Visible Damage or Wear
Visible damage or wear on fishing rod guides is a clear sign they need replacement. Look for cracks or breaks in the guide rings, frayed or grooved surfaces, or loose guides that wobble. These issues can cause line tangles, uneven casting, and reduced performance. Inspect the guides regularly, especially after heavy use or accidents, and address minor wear before it escalates into major problems that require costly repairs.
Performance Issues with the Fishing Line
Performance issues with the fishing line often indicate worn or damaged guides. If the line frequently tangles, frays, or casts unevenly, it may be due to rough or misaligned guide surfaces. Damaged guides can create excessive friction, leading to line wear and reduced casting accuracy. Inspecting and replacing faulty guides ensures smoother line flow, preventing these issues and maintaining optimal fishing performance. Regular maintenance helps avoid frustrating setbacks during fishing trips.

Selecting the Right Replacement Guide
Selecting the right replacement guide involves matching size, type, and material to the original for compatibility and optimal performance. Proper fit ensures smooth line flow and durability.
Choosing the Correct Size and Type
Selecting the right size and type of replacement guide ensures proper line flow and durability. Guides come in various sizes (e.g., 1mm, 1.5mm, 2mm) and types (ceramic, stainless steel, or roller). Ceramic guides are ideal for lightweight lines, while stainless steel offers durability. Roller guides reduce friction for heavy lines. Always measure the old guide or consult the manufacturer’s specifications for an exact match to maintain performance and rod balance.
Matching the Original Guide’s Specifications
Matching the original guide’s specifications ensures seamless performance and maintains the rod’s balance. Measure the old guide’s size and type, or consult the manufacturer’s details. Using identical or equivalent replacements prevents line friction and casting issues. Brands like Fuji offer precise guides, while kits provide assorted sizes (1mm, 1.5mm, 2mm) for versatility. Correct matching guarantees optimal functionality, preserving the rod’s intended design and efficiency for various fishing conditions.

Cost Considerations for Guide Replacement
Replacement guides vary in price, with DIY kits starting at $4-$10 and professional services costing more. Budget-friendly options like 60-piece kits are available for $59, while high-quality guides from brands like Fuji may increase costs. Professional repairs ensure precision but can be more expensive, making DIY a cost-effective solution for many anglers.

DIY Repair vs. Professional Services
DIY guide replacement is cost-effective, with kits starting at $4-$10, while professional services can range from $50 to $200+. DIY offers flexibility but requires time and skill. Professionals provide precision and warranty, ideal for complex or high-end rods. Budget-conscious anglers often opt for DIY, but serious damage may necessitate expert intervention for optimal results and durability.
Budgeting for Replacement Guides and Tools
Budgeting for replacement guides and tools is essential for a cost-effective repair. Guides and repair kits typically range from $4 to $10, offering an affordable DIY solution. Additional tools like razor blades or paintbrushes may add minor costs. Professional services, while more expensive (starting at $50+), provide expert results and warranties. Consider your rod’s value and repair complexity when deciding between DIY and professional options.

Common Mistakes to Avoid During Replacement
Incorrect Guide Positioning
Misaligned guides can disrupt casting accuracy and stress distribution. Always ensure precise positioning and alignment to maintain optimal rod performance and prevent future damage.
Incorrect guide positioning can severely affect casting accuracy and stress distribution. Misaligned guides may cause uneven line tension, leading to poor performance and potential rod damage. Always ensure guides are evenly spaced and properly aligned with the rod’s axis. Use markers or alignment tools to achieve precise placement, as incorrect positioning can compromise the rod’s sensitivity and overall fishing experience. Proper alignment ensures optimal functionality and longevity of the fishing rod.
Using Low-Quality Materials
Using low-quality materials for guide replacement can compromise the rod’s performance and durability. Cheap guides may corrode faster or break under pressure, leading to frequent repairs. Ensure to use high-quality materials, such as stainless steel or ceramic guides, to maintain the rod’s sensitivity and strength. Avoid inexpensive alternatives that may degrade quickly, as they can cause more damage and affect casting accuracy. Invest in durable, rust-resistant materials for long-lasting results.
When to Seek Professional Help
Seek professional help for extensive damage or complex rods requiring expertise. Shops can match replacements close to originals, ensuring optimal performance and durability for high-end or severely damaged equipment.
Extensive Damage Beyond DIY Repair
When a fishing rod suffers significant damage, such as multiple broken guides or structural issues, DIY repair may not suffice. Professional expertise is required to restore functionality and ensure durability. Shops can use specialized tools and materials to match original specifications, making the rod as good as new. This is especially crucial for high-end or custom rods, where improper repair could compromise performance.
Complex or High-End Rods Requiring Expertise
High-end or custom fishing rods often require professional expertise for guide replacement due to their intricate designs and advanced materials. Specialized tools and techniques are needed to ensure precise alignment and maintain the rod’s original performance. Professionals can accurately match OEM specifications, guaranteeing a seamless repair that preserves the rod’s sensitivity and durability, making it worth seeking expert help for such complex repairs.
Replacing fishing rod guides is crucial for maintaining performance and longevity. With proper tools and techniques, anglers can ensure a successful repair, enhancing their fishing experience and satisfaction.
Final Thoughts on Guide Replacement
Replacing fishing rod guides is a straightforward process when done correctly. Proper alignment, high-quality materials, and sufficient curing time are key to a durable repair. While DIY replacement is cost-effective, complex damage may require professional expertise. Regular maintenance and inspections can prevent wear, ensuring your rod performs optimally. With the right tools and techniques, anglers can extend the life of their fishing gear and enjoy better casting experiences.
Maintaining Your Fishing Rod’s Guides for Longevity
Regular cleaning and inspection of fishing rod guides are crucial for longevity. Avoid harsh chemicals and use a soft cloth to wipe away dirt and debris. Store rods in a dry place to prevent rust or corrosion. Inspect guides for wear or damage after each use and replace them promptly if needed. Proper care ensures optimal performance and extends the life of your fishing rod.